One thing I enjoy is repurposing a perfectly good piece of furniture and completely changing the style. You've seen it done on TV. It's like magic. I was looking for a quick, furniture fairy, but alas, I am out of genie requests.....for now.
As the house has evolved, I have settled on furniture and placement. The budget for both has determined my plan. Let's call it the "Not much of a budget plan". My goal is to try and change the entire look of my bedroom for under $200. It's not that I don't like the layout or storage of my furniture. I do. The storage and durability of my bedroom furniture is great, but it is to modern for this country gal. We purchased it while living in the standard, suburban model home. It went beautifully there. I purchased all but one piece on Craigslist. My great craiglist purchases. I went to Ikea, decided what I like and then watched for a couple of weeks on Craigslist. The bed was from Z-Gallerie, but it was purchased off Craigslist too. Now it is time to change them up to help give that farmhouse feel in my bedroom. I am so excited to see this project completed and believe it will be just the right fit.
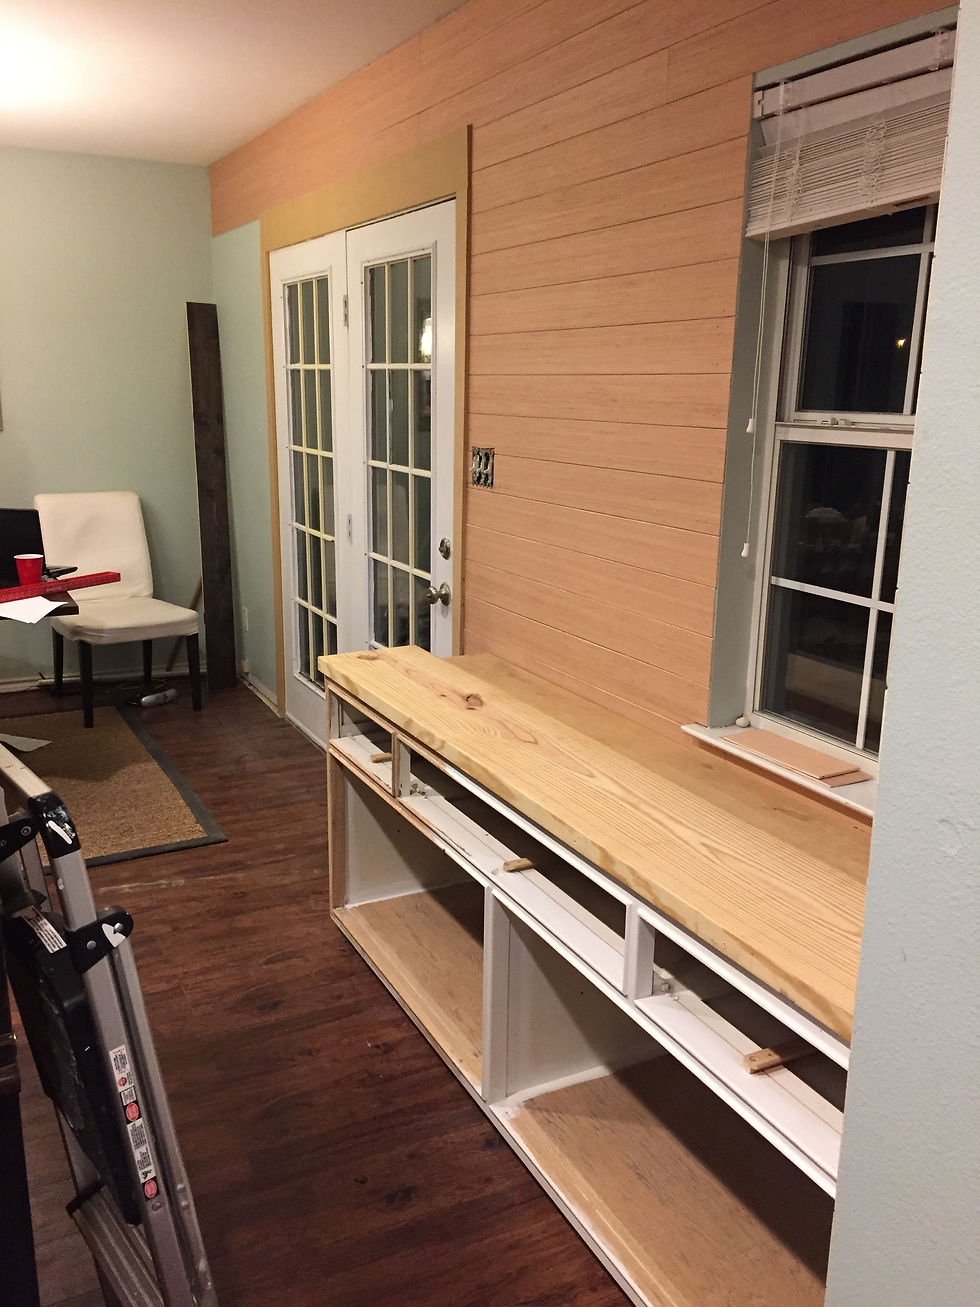
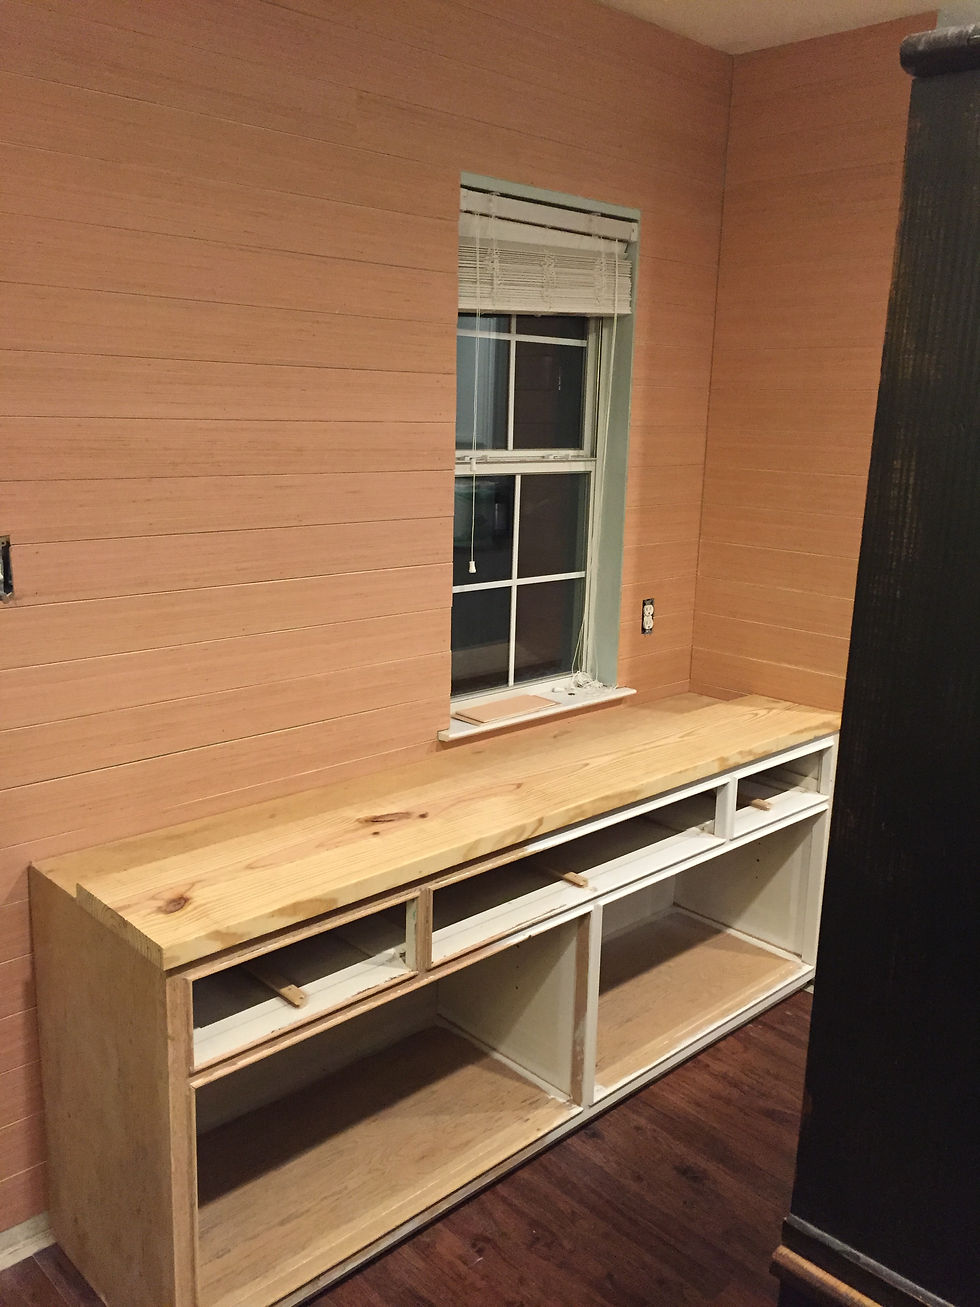
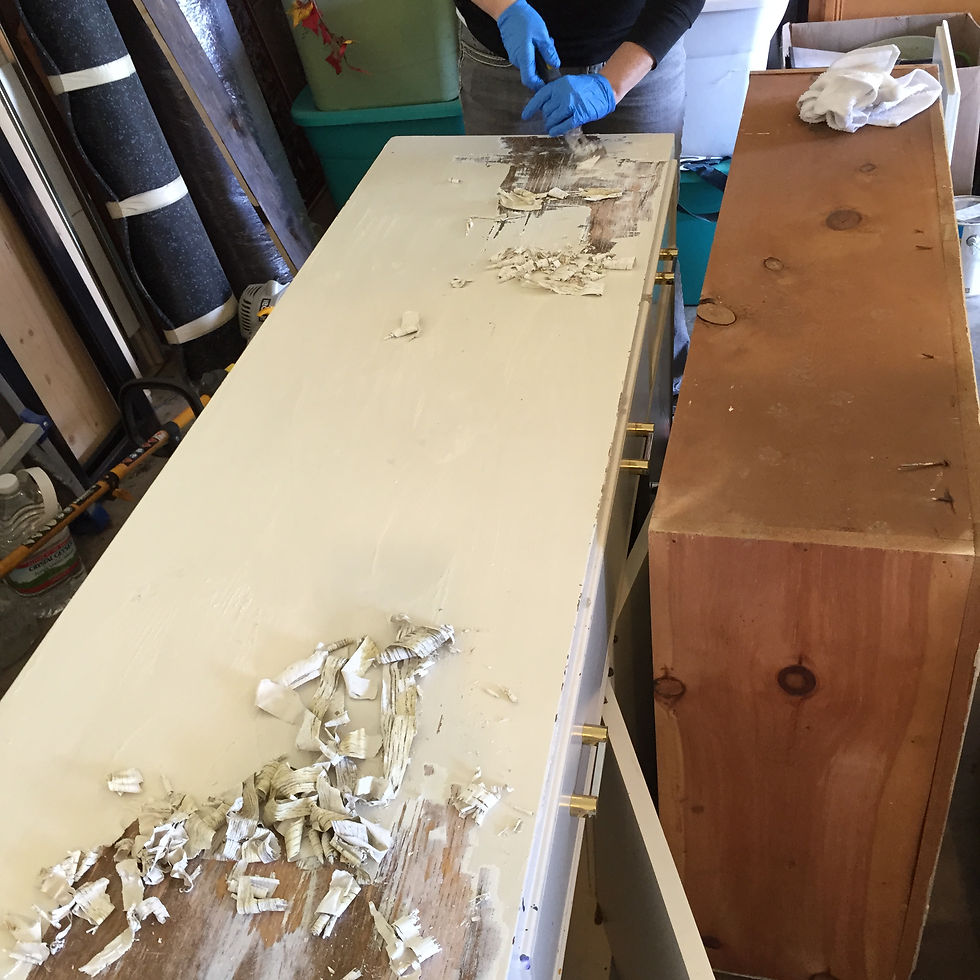
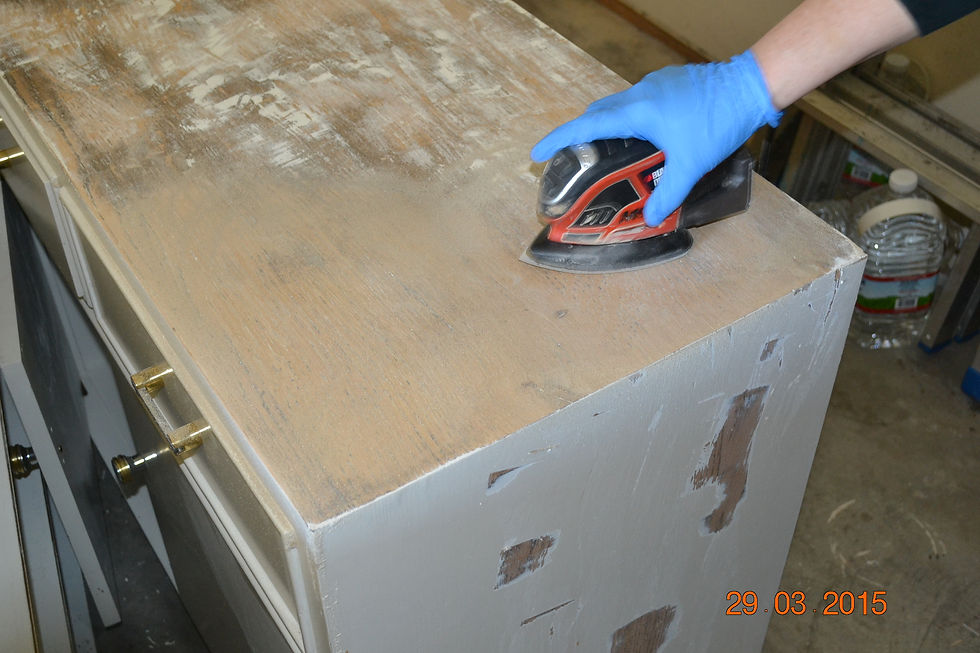
After spending much time researching online whether the veneer on the ikea malm dresser could be sanded and restained/painted, I got my answer. Yes! Sort of... You see, the dresser isn't entirely wood veneer. It has some components that are nothing more than pressed wood with a vinyl sticker on the sides and a few less visible areas. I could sand the top and refinish it because it is veneer, but I wanted something less boxy and more modern. The trim I am using to front the drawer facing and sides of dresser would look just plain weird dimensionally. So..........Off to sanding. I sanded the dresser and drawers down gently, to avoid gouging the veneer. It was surprisingly durable. After cleaning the dust from the drawer, I tested the dark walnut stain. It took a couple of coats, but dried a gorgeous, warm hue. Perfect for the distressing technique I plan to use to reveal the stain from under the paint. It didn't take long and it was ready to test the stain. I needed to purchase more stain and find that the perfect trim.
I went to Lowe's and walked around. I walked around for a really, really long time. I think I probably looked over every piece of wood in that store. I guarantee you the security people were nuts watching me going back and forth looking through the same aisles of wood. I was not ecstatic about my options until I saw these great pieces of trim on clearance. They would be the perfect with mitered corners and keep this project well within budget. We were going to use the never ending pile of wood we bought off Craigslist that I talked about using practically everywhere. Instead, I opted to go with a pine top made from glued strips.
When I got home, the drawer fronts were measured and the trim cut to fit. Each strip was glued and then nailed down. Next, I used wood filler to smooth the seams on the corners and hide nail holes. Once it dried, I sanded them down to a smooth finish. Several more coats of stain were then applied all over the drawer fronts. Next I need to stain the top, attched it, add the side trim and prepare the milk paint. I purchased the color Typewriter from Miss Mustard Seed to paint over the stain. It is an antique black finish. But, I keep thinking a rich white might look nice too! I am torn, but will stick with my original plan. The walls will soon receive the great shiplap treament and a faux beam will be added to the ceiling. Everything but the beam and textiles will be white. Black will look great. Think Magnolia House Bed and Breakfast, (See Fixer Upper Season 3 Episode 4), and Restoration Hardware..... had a baby. I like the pop of black in the kitchen cabinets and furnishings. It will really anchor all that white.
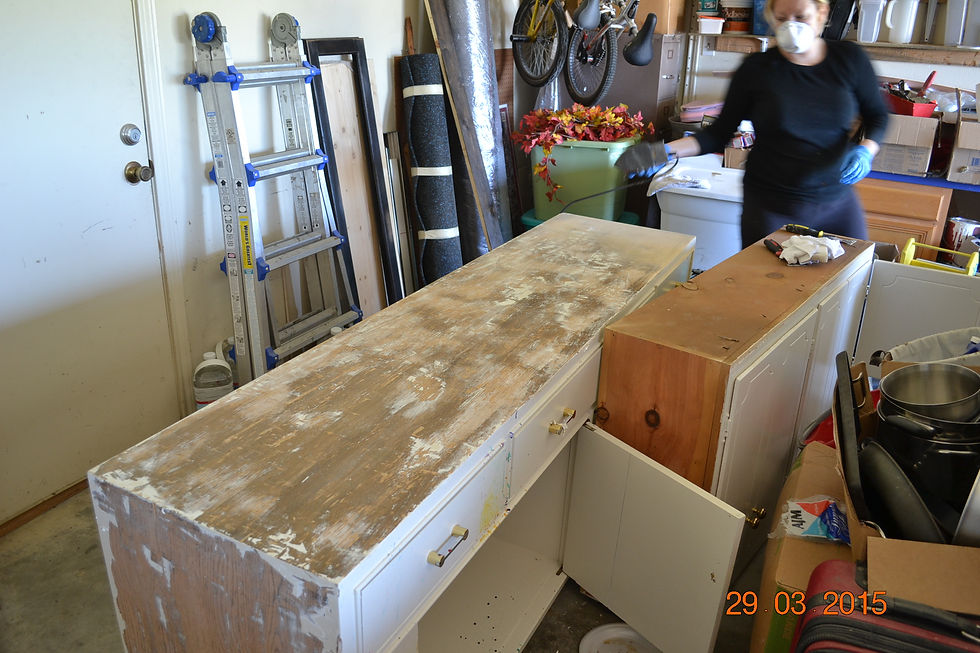
Here are a few pictures from when I started to where I am now. You can see the very modern bed and dresser in the first picture. (Please ignore the dusty floor). Nice pieces of furniture, but they no longer fit the style of my home. This is the Ikea Malm Dresser. Turning Cheap to Chic.
After I finish the nighstands and dressers, I have plans to transform the look of the bed and mirror too! Check back tomorrow for an update about the progress on the top and sides of the dresser.


Have you ever worn your best clothing, shoes or accessories out only to have people notice some older item you are wearing? Isn't it crazy how well bought items always seem to steal the show no matter how much you spend on something new. If an item fits well or is flattering, that too can place it center stage when compared to that new pretty thing you are just sure will be the hit of the party.
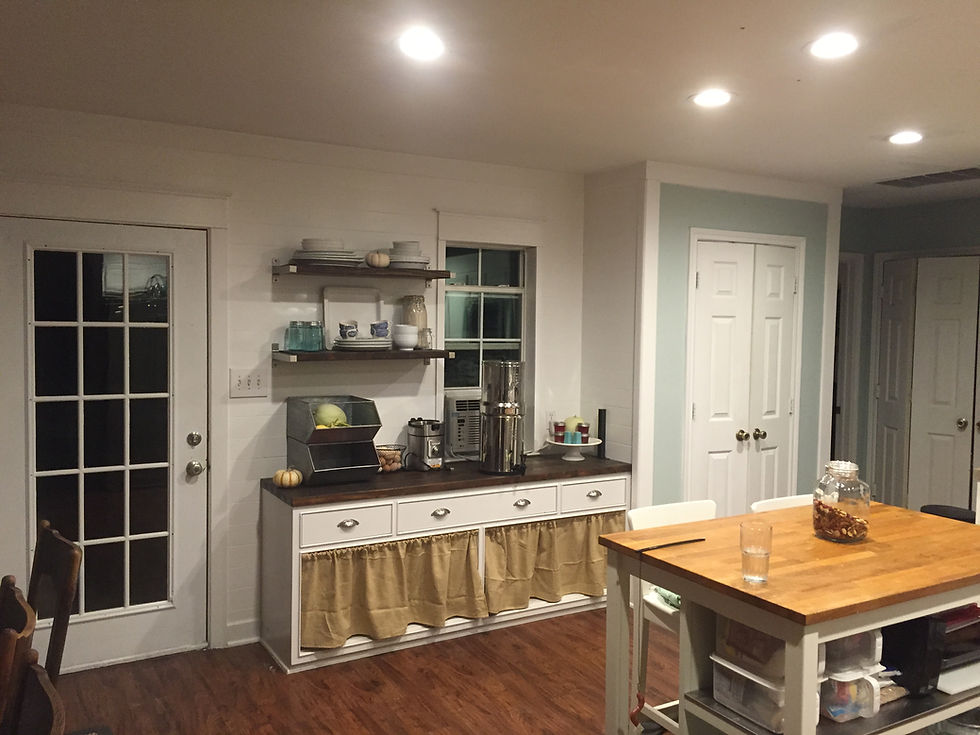
Well, that happens to me, but not with clothing or accessories. It happens when people come to my house and walk in my kitchen. It almost never fails. People almost immediately notice the cabinet under my kitchen window and comment. (Perhaps its just because it is a focal point of that wall). I find this amuseing. Actually, it is down right satisfying because it just proves that almost everyone in America can score great freebies on Craigslist that just need a little sprucing up. That old chair from your neighbor's Aunt Lucy might be stunning when reinvented in the right shade of paint and some new, updated upholstery.
Okay. I must tell you the story...
I regularly check, actually, troll, stalk, use your imagination, the craigslist free section. Many great things have come from just a random peek. One day I noticed this cabinet. Right away I new it was perfect, BUT my husband had made it clear that nothing else was coming into this house until a number of other things leave. He was also very serious about his request to start no new projects until a number of other ones were completed. I chose not to call him about this cabinet. Days went by. I checked it a few days later and the listing was still up. Hmmm....I called. The owner confirmed it was still in his possession. The dreaded phone call to my husband. How's your day? Are things going well sweetiee? Then, gulp, I asked the question. He was VERY reluctant. Very. But, he loves me so much and tolerates a great deal. This was another such occasion. Whew! He agreed to go after work. Did I mention it was a bit of a drive away, like maybe 50 minutes and that he would need to come home first from the metroplex to get our minivan/moving truck? To his surprise it was perfect. To my surprise, he agreed with me. lol.
So, work began to remove layers and layers of paint. It was tedious, but we finally made it through. Then came the sanding and more sanding. We opted to keep the doors, but remove them from the piece. Maybe another project???
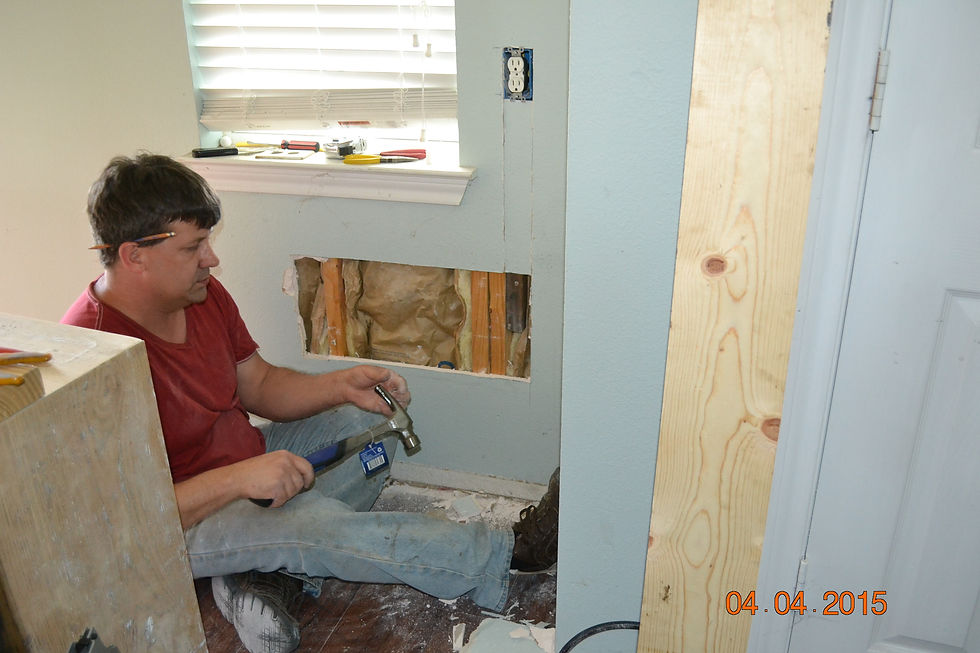
Since this was going in front of a very valuable outlet, Kevin moved it upward and patched the sheetrock.
Kevin painted the cabinet and I ordered new hardware to match our existing cabinet pulls from ebay for a buck a piece. I had purchased from Garden Ridge, (remember it before they changed their name to At Home), this gorgeous golden linen fabric for a $5.99 for 2 1/2 yards. I used this to make the curtains you see at the bottom of the cabinet where there were doors.
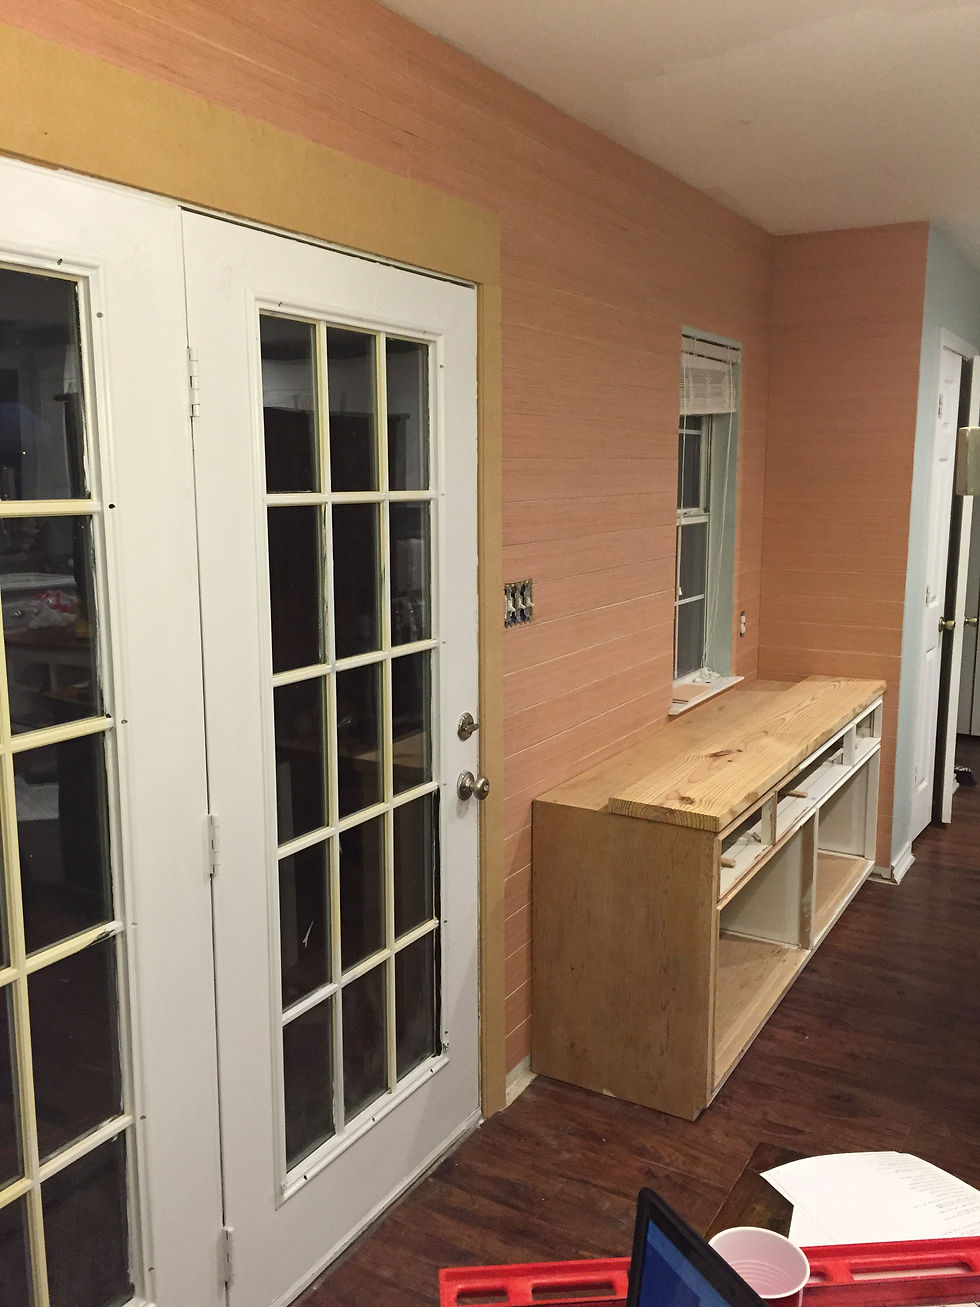
Now for the countertop. Months back, I convinced Kevin, (on another craigslist deal), to purchase a ton of wood from some guys for $50. I call it the never ending stack because we are still using this wood for projects! He cut two pieces, then clamped and glued them together. After sanding, they were stained.
I could hardly wait for him to get it installed. Now that it has been in place I can barely remember the kitchen without it. I am so thankful God gave me a construction fairy. I can dream it up and he makes it come true. What great fun we have, well, probably just me...
Here's my beauty in all her glory. Notice the shelves Kevin made to match above the cabinet. We used Ikea Brackets. (Another post with instructions in the project section). Very frugal and looks every bit as expensive as some of those seen in Fixer Upper. Why pay more?
The photos are out of order. I will have to arrange them tomorrow evening.


Okay guys, I love raising chickens, but some aspects about it are just nasty. Rooster, (his name is Cogburn), started showing signs of mites on his comb. Those nasty things multiply faster than rabbits because in a few days it was beyond gross. It was time for a dust bath with DE (Diamtemaceous Earth). I read that in case it wasn't just mites, you might want to put vaseline on their combs, wattles and legs to smother the potential stick fleas. Well, we are using organic methods to raise these birds and our garden, so vaseline and DE it was...for everyone...
My husband went and purchased the goods and we geared up with gloves and dust masks to perform the deed. (By perform, I mean for our neighbors of course). I think it is safe to say that if there was any concern we had mites, it is long gone. We were covered in the DE too. First we started by luring them into their coop and locking the outside hatch. We proceeded to coat them in DE I-N-S-I-D-E the hen house. BAD IDEA. When we got finished with the first batch, we decided to lure them into the hen house and then take a couple at a time O-U-T for their coating. Clouds of dust billowed in the wind each time we released a chicken. I am convinced that our neighbors must look our direction and chuckle each time they see us outside working. Folks, you really should make sure to wear masks because this stuff can be harmful to your lungs. Seriously.
We usually do this on a more regular basis, but haven't done so since the onset of winter. Make sure that if you need to treat them for mites, fleas or lice that you clean out their coop at the same time so you can get a handle on the pests. Be sure to add a bit of the DE to the nest boxes, coop floor and corners as well. Insects like to hang around there and attack the hen while she is laying or nesting.
If you love your daily egg but are faint of heart, you should stop reading now. Really.
Now, on to the gross part... If your eggs are beginning to show brown smudges on them, it may be a sign that they have internal parasites (worms). You can treat the hens for that by adding a teaspoon of the DE to their feed, being careful to mix it in well, also making to sure clean and treat the coop. They can pass the parasites along through their feces. Other chickens may contract the parasites by eating the contaminated feces (as if feces isn't already contaminated). Certainly, there is always the possibility of complications or a more serious type of internal parasite. It is good practice to externally examine your hens regularly. Watch their feces and behavior and you should be able to keep them healthy and producing eggs.
Below you will find a picture from "OUR" dust baths. lol. (Video is coming soon). The entertainment value alone when you dust your chickens is priceless. If your neighbors don't thank you, your chickens will. ...with the added benefit or course, that you don't have mites...
And no, we did NOT dip the chickens in the DE, although it sure looks like it. We got a handful and rubbed it into all into their feathers. But we did hold them upside down.


